The Ultimate Floor Scrubber Maintenance Checklist: Daily, Weekly & Monthly Guide

An industrial floor scrubber is one of the most valuable investments in any commercial cleaning arsenal. It saves hours of manual labor, keeps floors pristine, and ensures a safe, slip-free environment. However, because these machines handle a harsh mixture of water, chemical detergents, dirt, and heavy friction, they are highly prone to wear and tear.
Neglecting routine care is the fastest way to face frustrating breakdowns. Whether it’s a floor scrubber not picking up water or a machine that is leaving streaks across your clean floors, almost all common equipment failures can be prevented with a simple, disciplined maintenance routine. If you are already experiencing issues, consult our comprehensive floor scrubber troubleshooting guide to diagnose and fix the problem quickly.
This ultimate floor scrubber maintenance checklist breaks down your daily, weekly, and monthly tasks to protect your machine, maximize its lifespan, and ensure peak performance every single run.
Daily Maintenance Checklist (Post-Use Tasks)
Daily maintenance should be performed after every single cleaning shift. Never store a floor scrubber dirty or with water still inside. It only takes 5 to 10 minutes, but it will save you thousands of dollars in premature motor replacements and component failures.
1. Empty and Rinse Both Tanks
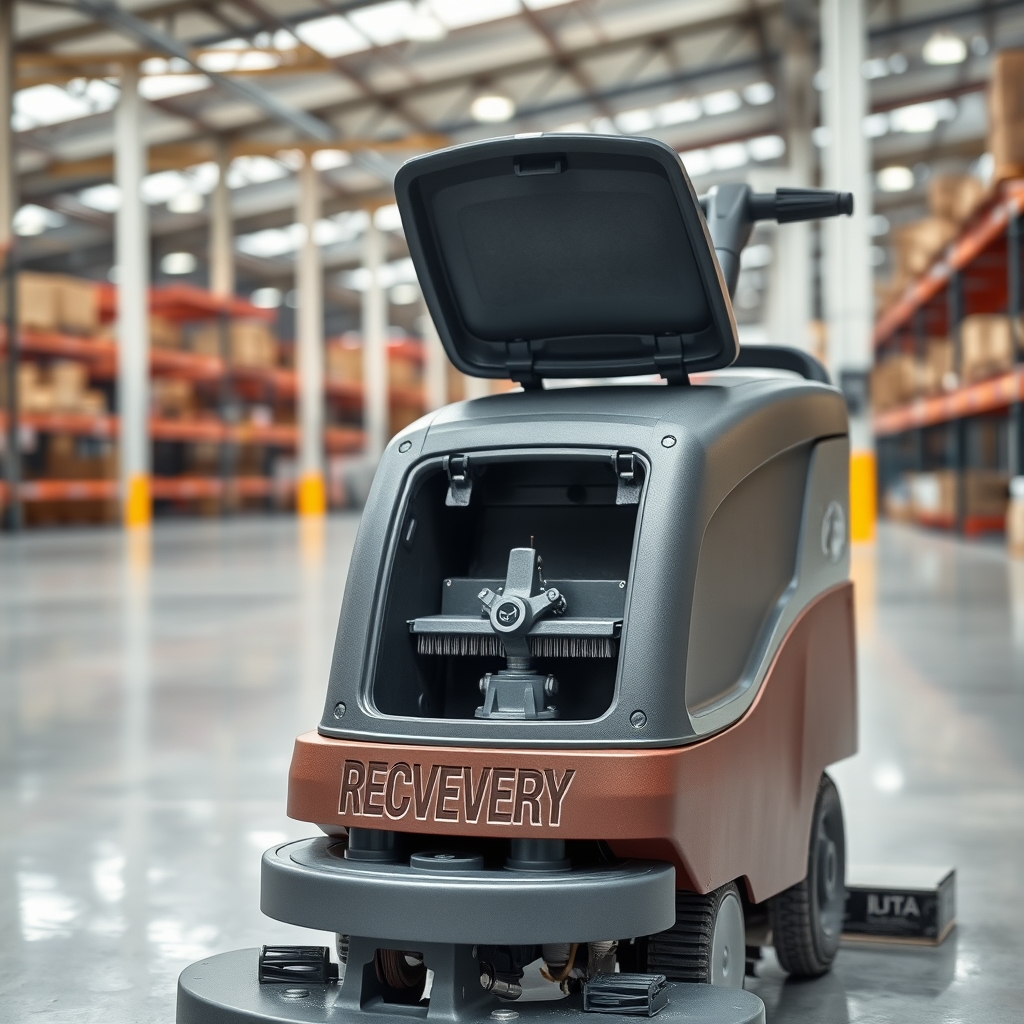
Your floor scrubber has two tanks: a solution tank (clean water + chemical) and a recovery tank (dirty water).
- The Recovery Tank: Drain the recovery tank completely into an approved disposal drain. Rinse the tank thoroughly with clean water to remove accumulated sludge, silt, and debris. If dirty water sits in the tank, it will create a foul odor and cause bacteria buildup.
- The Solution Tank: If you have leftover detergent solution, drain it. Leftover chemicals can coagulate, clog the valves, or lead to a solution not dispensing issue on your next shift.
2. Clean the Vacuum Shut-Off Float & Filter Screen
Inside the recovery tank, there is a vacuum shut-off float (usually a ball in a cage) and a stainless-steel filter screen. Remove any lint, hair, or debris clinging to the screen. Ensure the float ball moves freely. A clogged screen starves the vacuum motor of airflow, while a stuck float can allow dirty water to enter and destroy the vacuum motor.
3. Clean the Squeegee Assembly
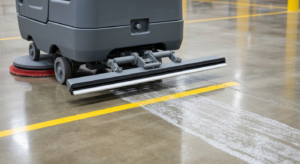
The squeegee is responsible for wiping the floor dry. Raise the squeegee assembly, wipe the rubber blades down with a damp cloth, and check for any debris (like paperclips, wood chips, or hair) trapped in the vacuum hose inlet. Leaving dirt on the blade causes it to warp or nick, leading to streaks or poor water pickup.
4. Remove and Rinse Brushes or Pad Drivers
Take off the scrub brushes or pad drivers. Rinse them thoroughly with warm water to wash away dirt, grit, and chemical residue. Hang them up to dry. Leaving brushes on the machine under constant pressure will bend the bristles permanently, ruining their scrubbing effectiveness and potentially causing issues like the floor scrubber brush not spinning properly due to uneven resistance.
5. Charge the Batteries
For battery-powered scrubbers, plug the machine into the charger after every shift. Modern smart chargers are designed to bring the batteries back to a full charge safely. Avoid “opportunity charging” (plugging it in for 10 minutes during a lunch break), as this can shorten the battery’s overall lifespan. If your machine won’t power up, read our guide on what to check first when a floor scrubber battery is not charging.
Weekly Maintenance Checklist
Weekly maintenance focuses on inspecting wearable parts and deep-cleaning filtration systems that keep the machine running smoothly.
1. Clean the Solution Filter
Locate the inline solution filter (usually a clear plastic bowl near the bottom of the machine). Twist off the bowl, remove the mesh screen, and rinse it under clean water. This filter catches sediment before it reaches the solenoid valve. If it gets blocked, it will restrict water flow.
2. Inspect Squeegee Blades for Wear
Inspect the edges of both the front and rear squeegee blades. If the wiping edge is rounded, nicked, or torn, it won’t seal properly against the floor. Most squeegee blades have four usable edges, you can flip or rotate them before needing a complete replacement. If they are worn on all sides, follow our step-by-step guide on how to replace floor scrubber squeegee blades.
3. Check Battery Water Levels (Wet-Cell Batteries Only)
If your floor scrubber uses flooded lead-acid batteries, check the electrolyte level in each cell weekly. If the plates are exposed, add distilled water until the level reaches just below the fill ring. Never use tap water, as the minerals will ruin the battery chemistry. Always charge the battery before adding water, unless the plates are completely dry.
4. Inspect Tank Gaskets
Examine the rubber gaskets on the recovery tank lid. If the gasket is cracked, compressed, or torn, air will leak in, ruining the vacuum seal. This is the #1 hidden cause of poor water suction.
Monthly Maintenance Checklist
Monthly checks are preventive measures designed to catch mechanical wear before it leads to a major breakdown during a shift.
1. Lubricate Pivot Points
Apply a small amount of water-resistant grease or silicone spray to the squeegee lift linkage, brush head lift mechanism, wheels, and pivot joints. This keeps the mechanical controls moving smoothly and prevents rust.
2. Check for Loose Fasteners and Leaks
Examine the underside of the machine for any signs of water or oil leaks. Inspect the hoses for pinholes or wear from rubbing against the frame. Tighten any loose nuts, bolts, or hose clamps.
3. Clean Battery Terminals
Inspect battery connections for white or green corrosion. If present, disconnect the terminals and clean them with a wire brush and a baking soda/water solution. Tighten the terminals and spray them with a battery corrosion preventative.
4. Listen for Unusual Noises
Run the brush and vacuum motors in a quiet area. Squealing, grinding, or excessive vibration indicates failing bearings or gear damage. Identifying these noises early prevents total component failure during operation. For a full breakdown of what each sound means, read our guide on Floor Scrubber Making Loud Noise: What Each Sound Means.
Conclusion
A floor scrubber is a highly efficient machine, but its reliability depends entirely on the care it receives. By implementing this simple daily, weekly, and monthly checklist, you will keep your facility cleaner, avoid expensive emergency repair bills, and extend the lifespan of your machine by years.