How to Replace Floor Scrubber Squeegee Blades (Step by Step)

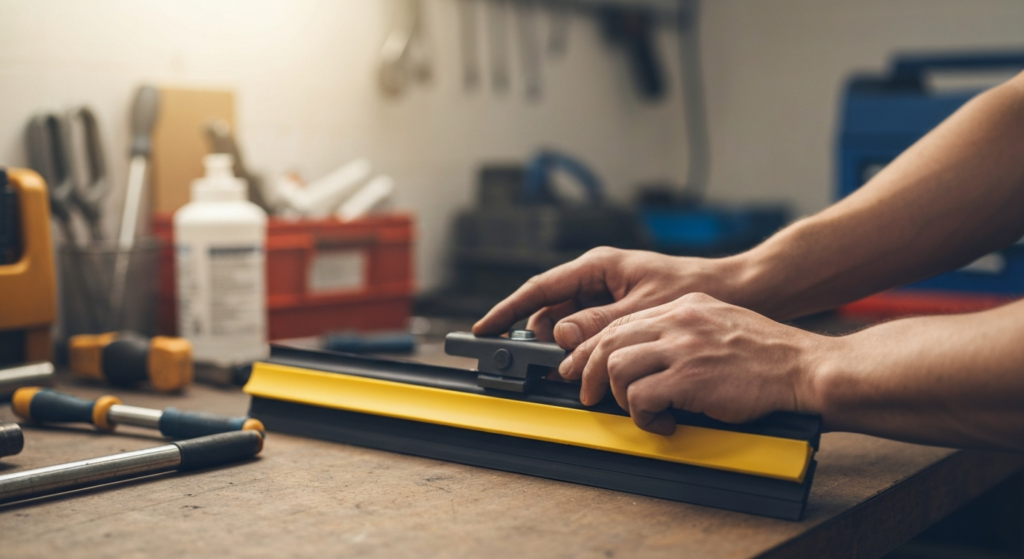
Learning how to replace floor scrubber squeegee blades is the single highest-value maintenance skill an operator can pick up. It takes ten minutes, needs almost no tools, and it resolves the majority of pickup and streaking complaints I get called out for.
It is also the job people most often get wrong, usually by replacing blades that did not need replacing, or by installing the new ones in the wrong positions.
Before You Replace: Do You Actually Need To?
Most rubber squeegee blades have four usable edges. Two faces, and each face can be flipped end-for-end. A blade wipes on one edge at a time, so when that edge wears round or picks up a nick, you can present a fresh one instead of buying a new blade.
People throw away blades with three good edges left on them all the time. At $20 to $60 a blade depending on the machine, that adds up fast across a fleet.
Rotate the blade if: one edge is worn round or nicked, and the other three are clean.
Replace the blade if:
- All four edges are worn or damaged.
- The rubber has gone hard and lost its flexibility. Old rubber will not conform to the floor no matter how sharp the edge looks. Press a thumbnail into it, if it barely deflects, it is done.
- The blade is torn, split, or has taken a permanent set from being run too low for months.
- It has been chemically attacked, some solvents and strong alkalines will swell or degrade rubber. A blade that feels gummy or has visibly swollen is finished.
Front and Rear Blades Are Not the Same Part
This is where most replacements go wrong, so it goes before the steps rather than buried inside them.
On most machines:
- The front blade is solid. Its job is to contain water and direct it inward, toward the vacuum pickup.
- The rear blade is slotted, notched, or grooved. Those slots let air pass through to the vacuum port. Without them, the vacuum cannot pull air through the squeegee at all.
Install them backwards and the machine will streak and leave water no matter how new the blades are. The rear cannot pass air; the front cannot contain water.
Before you pull the old blades, photograph them in place. Ten seconds, and it removes all guesswork on reassembly. If you are working on a model you do not know, pull the parts diagram for it rather than assuming.
What You Need
- Replacement blades, or the existing ones if you are rotating
- A rag
- Usually nothing else, most squeegee assemblies use wing nuts, thumb latches, or clips specifically so that blade changes need no tools
- On some machines, a nut driver or small wrench for the retainer strip fasteners
Step 1: Power Down
Key out, and keep it with you. In a workplace this is formally lockout/tagout, covered by OSHA’s control of hazardous energy standard: the machine must be isolated, not merely switched off, before anyone works on it.
Turn the machine off and remove the key. On battery machines, this is not optional, you are about to put your hands near the squeegee assembly, and an accidental actuation while you are working on it can trap fingers.
Raise the squeegee to its transport position first. This gives you room to work underneath.
Step 2: Remove the Squeegee Assembly
Most squeegee assemblies detach from the machine entirely, held on by a wing nut, a quick-release latch, or a pair of clips.
Disconnect the vacuum hose from the squeegee first, then release the mount and lift the assembly clear.
You can change blades with the assembly still on the machine, but it is awkward, you cannot see what you are doing, and you will be lying on a wet floor. Take the thirty seconds to pull it off.
Step 3: Note the Orientation, Then Remove the Old Blades
Look at the assembly before you touch anything. Note:
- Which blade is front (solid) and which is rear (slotted)
- Which way the wear edge is facing
- How the retainer strip sits over the blade
Then release the retaining mechanism. This will be one of:
- A tensioned latch or over-centre clamp, flip it open and the retainer strip releases
- Wing nuts along a retainer strip, loosen them and slide the strip off
- Clips, unclip along the length
Slide the blade out. Blades locate on pins or in a channel, so they come away cleanly once the retainer is off.
Step 4: Clean the Assembly While It Is Off
Do not skip this. It takes two minutes and it is the difference between a blade change that lasts and one that fails in a week.
- Wipe out the squeegee channel. Grit trapped between the blade and the frame stops the blade seating flat, which is a guaranteed streak.
- Clear the squeegee throat, the neck where the vacuum hose connects. Hair, string, and plastic film collect here. If it is packed, you have just found a second problem.
- Check the frame for straightness. Sight along it. Bent frames are common on machines that get driven into racking, and a bent frame cannot be fixed with new blades. If it is bent, that is your actual problem.
- Check the casters or wheels on the assembly. A flat spot on one drops that end and un-levels the squeegee.
Step 5: Fit the New Blades
Front blade in the front position, rear blade in the rear position, sharp edge down and facing the direction of travel.
Seat the blade fully into its channel or onto its locating pins along the entire length. A blade that is seated at the ends but bowed out in the middle will leave water in the middle of every pass.
Refit the retainer strip and close the latch or tighten the wing nuts. Snug is correct, over-tightening a retainer strip can distort it, and a distorted strip will not hold the blade flat.
Run a finger along the full length of the fitted blade. It should be straight, evenly proud of the frame, and firmly held.
Step 6: Refit and Set the Height
Remount the assembly, reconnect the vacuum hose, and lower the squeegee to working position.
Now set the deflection. This step is what people rush, and it undoes all the work above.
Run the machine forward a few feet with water down, stop, and look at the blade from behind. You want:
- An even, gentle curl across the full width, the blade leaning back slightly under drag
- The same deflection at both ends, if one end is deflecting harder, the assembly is not level, and you need to fix that before anything else
What you do not want is a blade folded back on itself. That means it is too low. It is riding on its flat face instead of its edge, and it will streak worse than the worn blade you just removed.
Too low is the more common error than too high. Operators instinctively press harder when they see water left behind, and it makes things worse.
Step 7: Test
Lay water and run a pass. The floor behind the squeegee should be dry, not damp, not filmed, dry.
If it is not, work through the pattern:
- Thin lines left behind? The blade is nicked (check the new one, new blades can arrive damaged) or the channel was not clean.
- Water on one side only? The assembly is not level.
- Full-width wet band? The blade is too high, or it is folded from being too low.
- Nothing picking up at all? Check the hose is reconnected, and that you have not fitted the blades in reversed positions. Both are common right after a blade change. Our guide on a floor scrubber not picking up water covers the rest of the vacuum path.
For a fuller breakdown of what each streak pattern means, see floor scrubber leaving streaks.
How Often Should Blades Be Changed?
There is no fixed interval, because wear depends almost entirely on the floor:
- Abrasive floors, bare concrete, quarry tile, anything gritty, chew through blades. On a busy warehouse you may be rotating edges weekly.
- Smooth sealed floors, vinyl, epoxy, polished concrete in a clean environment, are gentle. Blades can last months.
- Debris is what kills blades, not hours. One screw or pallet nail ends an edge instantly, regardless of how new it is.
Rather than running to a schedule, build the check into the shift: wipe the blades down at the end of every shift and run your fingers along the edge while you do it. You will find nicks the day they happen instead of a week later, after the floor has been streaked every night in between.
Keep Spares on the Shelf
A machine standing idle because nobody stocked a $30 blade is an expensive machine. Blades are consumables, like pads and filters, they should be on the shelf before you need them, not ordered after the floor has already been streaked for three days.